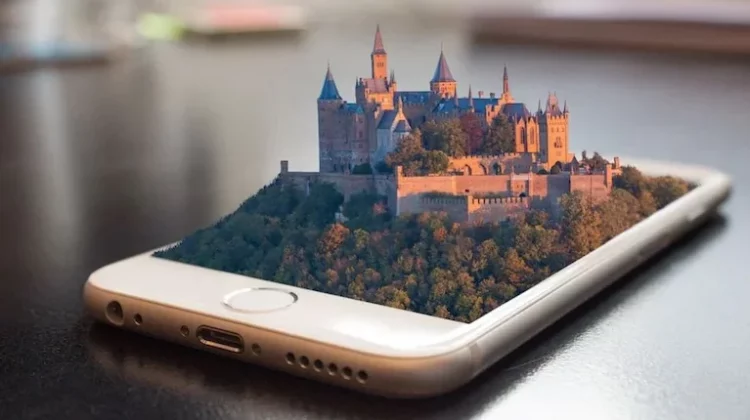
How to Take 3D Photos With Your Phone? To some people, 3D photos may still sound like something out of a science-fiction movie, or at least highly complicated and requiring some amazing photography skills. But nothing could be further from the truth. Thanks to the development of technology, everyone can start shooting their 3D pictures in no time.
And no, you don’t need the newest iPhone, fancy outside appliances, or a special device. You can choose the best budget camera phone suitable for your needs and finances, and enjoy all the perks without overspending.
Post Outline
How to Take 3D Photos With Your Phone
LucidPix App
LucidPix is the newest app available for both iOS and Android devices. It works even with some older phone models, so you don’t need to worry if you don’t have an iPhone 11 Pro. There are some restrictions and limitations, but if you’re not sure, it’s best to try to download the app on your phone and see if and how it works. There’s no additional equipment required.
How Does LucidPix Work?
Instead of multiple rear cameras and other special accessories, LucidPix uses artificial intelligence technology to render 3D photos, which later move the way you move your phone while taking them. It’s more of a tool to play with, not a piece of technology to create whole new things, like the special camera phones designed with complicated 3D technology.
LucidPix uses software that understands how your brain works while processing depth and moving objects. What’s also great about LucidPix is that it can convert your regular, already existing photos to 3D images. It also has its own community of users with whom you can share your pictures. Then, the images can be uploaded on social media. For example, Facebook supports 3D photos.
What Is the Cost?
LucidPix is available for free from Google Play Store and Apple Store for all users. However, if you want your photos without a watermark, you will need to update your subscription plan for $6 per month or $40 per year for Apple devices and $4 per month or $30 per year on Android.
Dual-Lens Smartphones
Right now, it’s not unusual for smartphones to have two (or more) cameras on their back. If you have or plan to buy such a phone, then you will soon have a device capable of creating depths by itself (or rather storing the depth data), therefore equipped with the most important elements for taking 3D photos.
After taking an image, you will only have to add some depth with the stored data, for example, by using a Facebook feature.
Single-Camera Smartphones
Facebook comes to the rescue. Recently, they have updated their 3D photo feature, so that more people can use it and convert their pictures to 3D, those with single-camera smartphones as well (as long as it’s an iPhone 7 or higher, or a recent midrange or better Android).
How to Upload a 3D Photo on Facebook?
You take your pictures as usual, and then you go to your Facebook dashboard to create a regular post. While making a draft version of your post, go to the post settings (three dots on the upper right) and select a 3D Photo option.
When you post away, use your camera app to choose the live focus (or portrait option in some smartphones), which will add the desired depth to your picture. For even a better effect, you may add some background blur (sometimes it can even be necessary, as 3D processing may result in some slight changes in the image).
Older Devices and Desktop
If you happen to have an older smartphone or want to use your computer, you need to approach it differently. As these devices don’t store any depth data, you will have to create a depth map. It can be achieved with an image editing software or a tool, such as OmniVirt and their Predict Depth feature.
Tips for Taking 3D Photos
Of course, everything depends on the effect you want to achieve and your preferences. Still, there are some guidelines you may follow, especially if you’re only beginning your adventure with 3D pictures.
First of all, it’s best to photograph relatively static items. The best are objects, such as buildings or plants, but if you want to take a 3D photo of a person, simply ask them to limit their movement.
Then, if you want the effect to be truly visible and astonishing, you will need a photo of something with a distinctive background, contrast, and multiple elements, so that 3D processing can create layers. 3D processing may also experience problems with translating thin elements (wisps of hair), transparent objects (like glasses), or rapidly moving things.
Explore and Enjoy
It’s crucial to read about the basics whenever you start something new, especially when it’s technology-related. However, the most important thing is to allow yourself to explore. It’s the same with 3D photos; see what works best for you, which features and effects you like, and which ones you would prefer to avoid in the future. And don’t forget that you should enjoy it, not get frustrated! How to Take 3D Photos With Your Phone. How to Take 3D Photos With Your Phone?
Related Posts:
- How to Optimize The “Other Storage” Category on Your Mac?
- How To Switch From Android to iPhone: A Complete Guide
